Article: A Step-by-Step Guide to Wiring an Outlet Safely and Correctly
A Step-by-Step Guide to Wiring an Outlet Safely and Correctly
Adding or replacing an electrical outlet is a handy skill that can upgrade your home's functionality. However, it's crucial to approach electrical work with caution and follow safety protocols. Let's dive into a step-by-step guide to correctly wire an electrical outlet.
Step 1: Gather Materials and Safety Precautions
Before starting any electrical work, gather the necessary materials:
- Electrical outlet
- Electrical box
- Circuit tester
- Wire stripper
- Screwdriver
- Needle-nose pliers
- Electrical tape
Ensure safety:
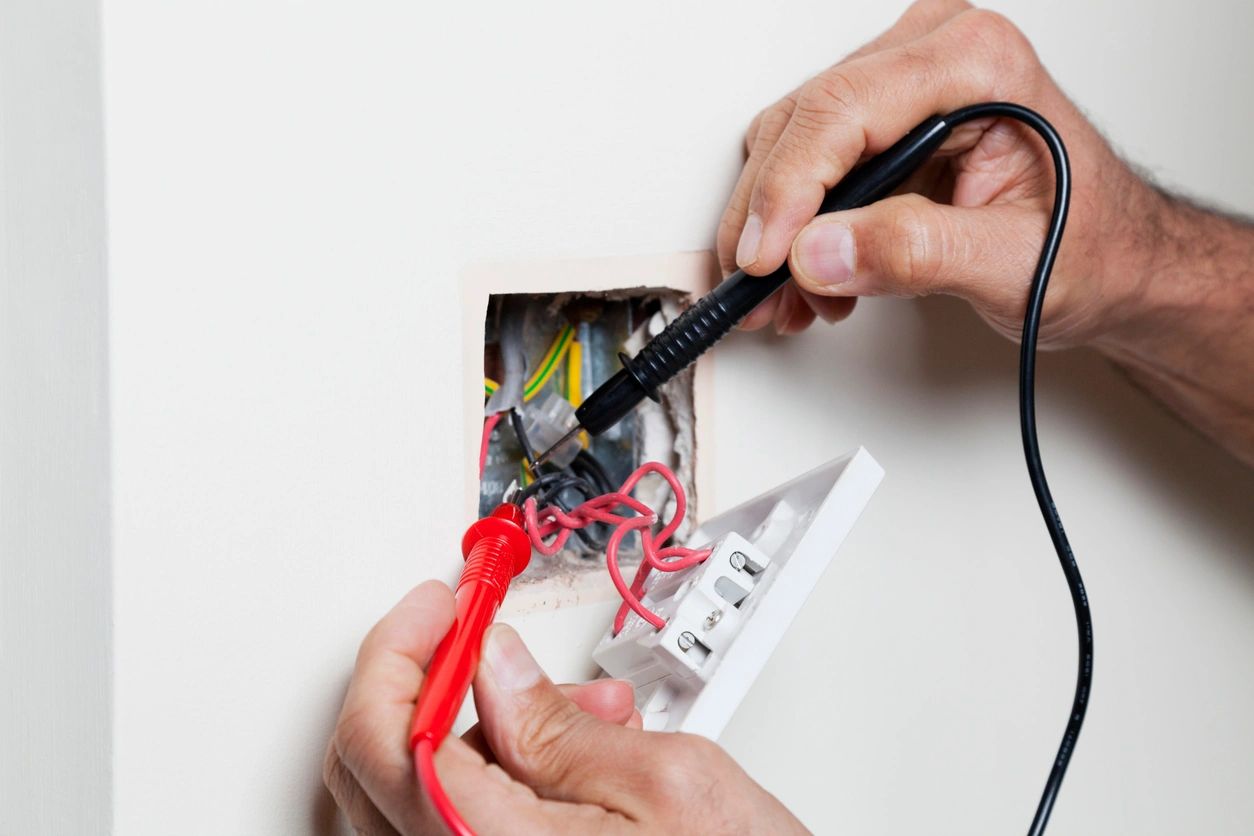
- Turn off the power at the circuit breaker for the specific area you're working on.
- Use a circuit tester to double-check if the power is off to the outlet.
Step 2: Remove the Old Outlet (if replacing)
- Unscrew the outlet cover and remove it.
- Use a screwdriver to loosen the outlet from the electrical box.
- Carefully disconnect the wires attached to the old outlet, noting their placement (usually, there are black/hot, white/neutral, and green/bare wires).
Step 3: Prepare the Wires
- Strip off about ¾ inch of insulation from the ends of the wires using a wire stripper.
- Straighten the wires if needed, ensuring they're free of any damage or fraying.
Step 4: Connect the Wires to the New Outlet
- Identify the hot wire (black), neutral wire (white), and ground wire (green or bare copper).
- Loosen the screws on the side of the outlet.
- Connect the black wire to the brass or darker screw (hot), the white wire to the silver or lighter screw (neutral), and the bare or green wire to the green screw (ground).
- Wrap the wires around the screws in a clockwise direction and tighten the screws securely.
Step 5: Attach the Outlet to the Electrical Box
- Gently push the wires back into the electrical box.
- Align the outlet with the screw holes in the box and secure it in place using screws.
- Make sure the outlet sits flush with the wall.
Step 6: Test the Outlet
- Before closing everything up, use a circuit tester to verify that the wiring is correct and the outlet is functioning properly.
- Turn the power back on at the circuit breaker and test the outlet by plugging in a small appliance or a circuit tester.
Step 7: Secure and Finish Up
- If everything is working correctly, carefully tuck the wires back into the electrical box, ensuring they aren't pinched or strained.
- Attach the outlet cover securely using screws.
- Use electrical tape to cover the sides of the outlet screws and ensure they don’t touch the box.
Conclusion:
Wiring an electrical outlet can be a manageable task when done carefully and following safety guidelines. However, if you're uncertain or uncomfortable with electrical work, it's always best to seek professional assistance. Remember, safety should always be the top priority when working with electricity. Following these steps ensures a properly wired outlet, providing a functional and safe power source for your home.
Leave a comment
This site is protected by hCaptcha and the hCaptcha Privacy Policy and Terms of Service apply.